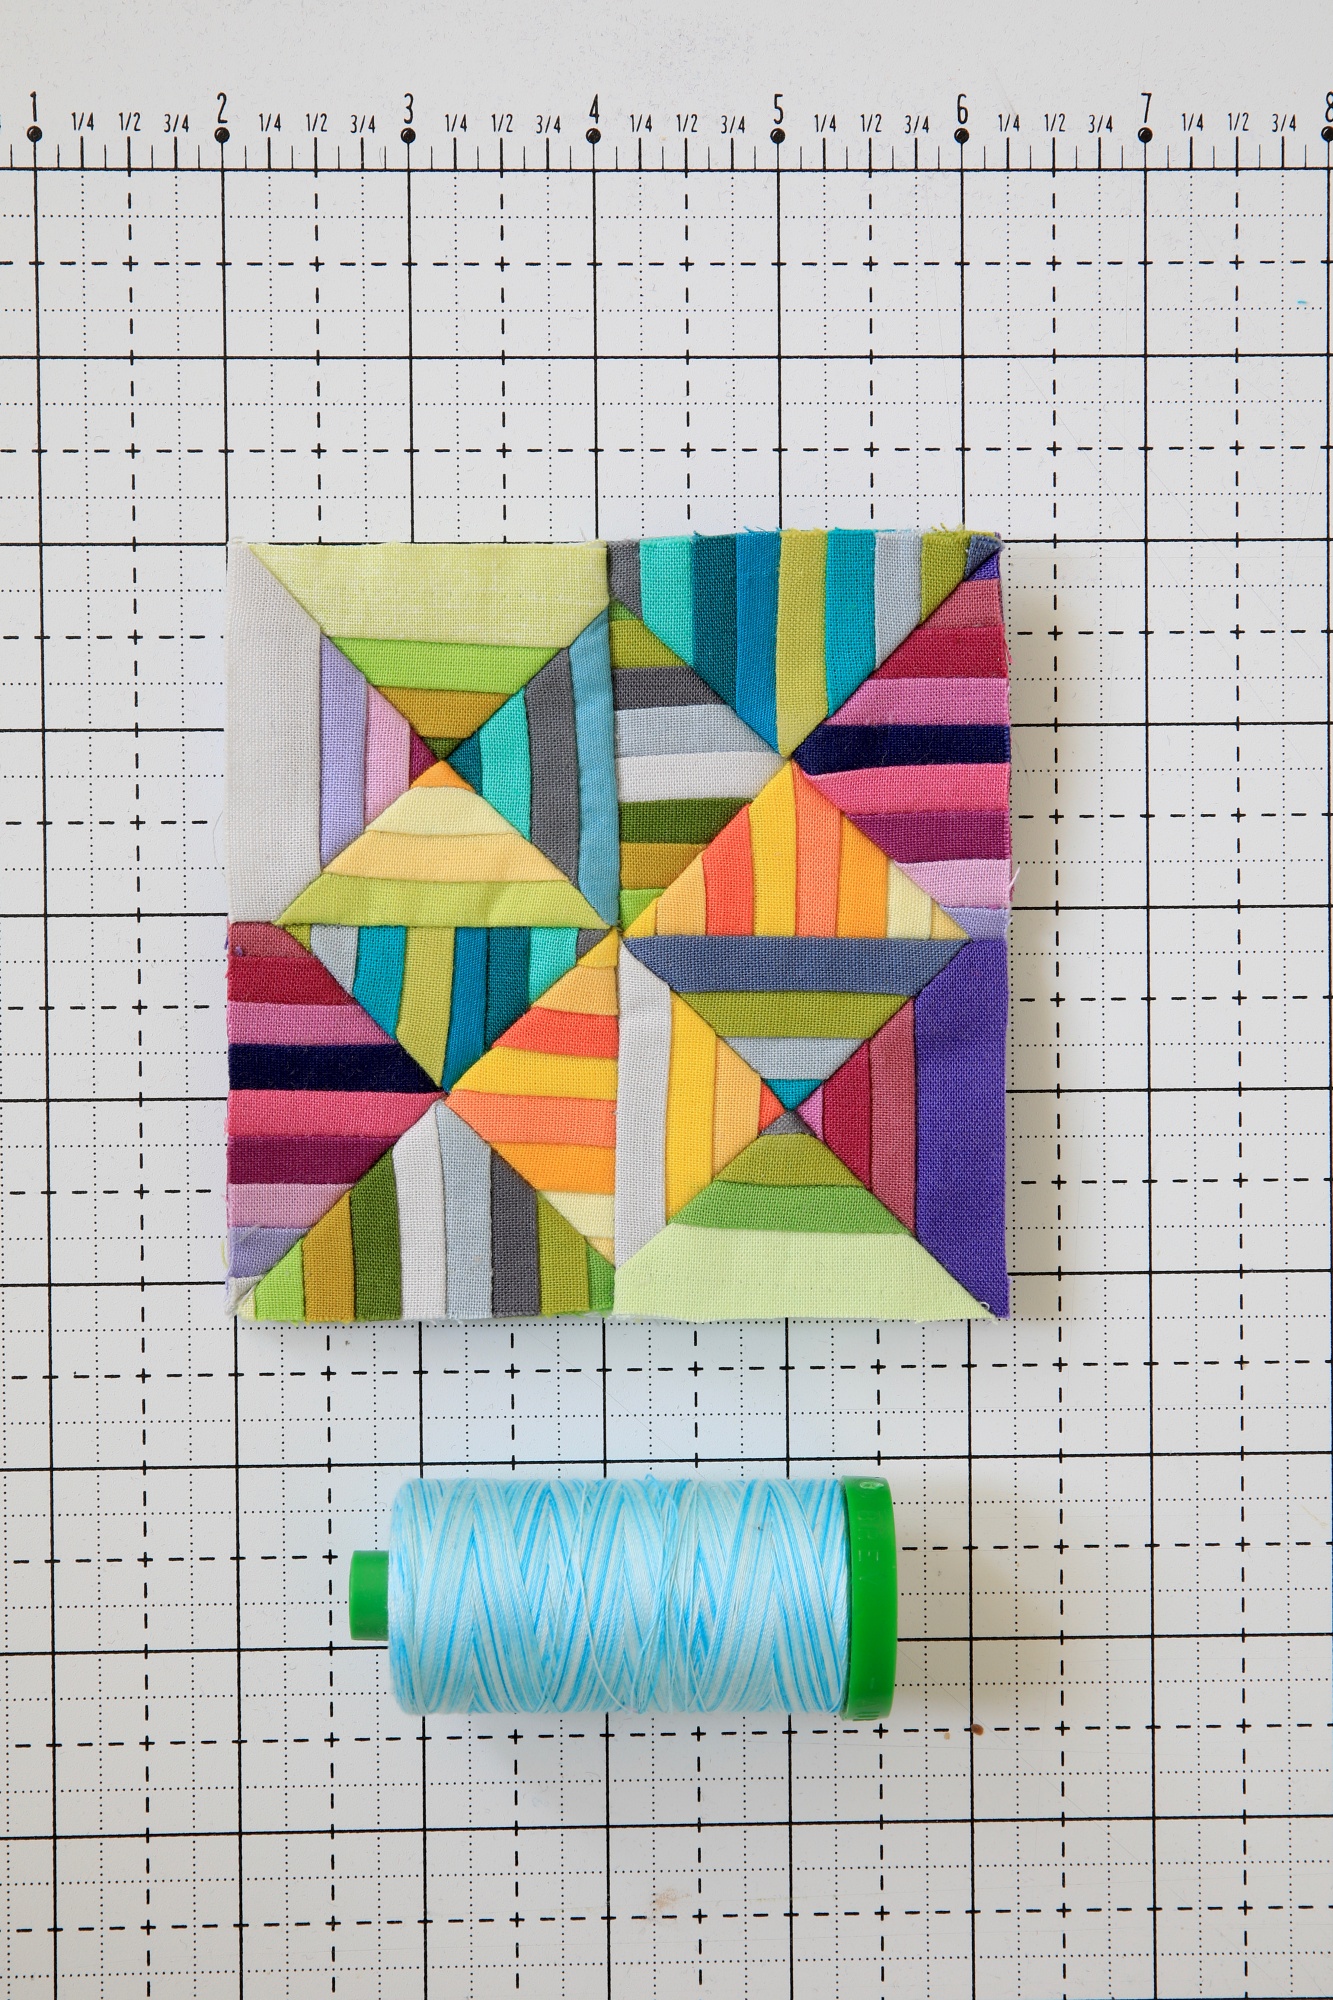
Aika paljon tuli kyselyitä, kuinka olen tehnyt edellisen postauksen blokin. Tässä on nyt toinen ommeltuna ja otin kuvia myös työvaiheista. Näin kapeissa raidoissa pienetkin heitot näkyvät helposti, joten kokeilin kolmea eri tekniikkaa. Paper piecing osoittautui minusta kaikkein parhaimmaksi ja sillä sai kaikkein tarkimmat raidat. Tuo aikaisempi pussukka on tehty hieman eri tavalla.
Jos innostaa pienen 4 1/4" kokoisen #ministripeblock näpertäminen, niin tässä kuvia siitä, kuinka sen itse tein.
Pahoittelen, että mitat ovat vain tuumissa, sillä käytän vain tuumaviivaimia.
***
I have got quite a few questions how I made the mini block of the previous post . Now I have made another one and took some pictures of the process. I tried three different methods to make those narrow stripes and I think with paper piecing I got the best result.
If you are interested to try this 4 1/4" size #ministripeblock here is how I made it. The measurements are in inches because those are what I mainly use.
On paljon helppoja paper piecing tekniikoita mutta olen tottunut tähän ja sillä saa tarkkaa jälkeä.
***
Draw 10 pcs 1/4" wide stripes using a quilt ruler . That means 11 lines. I don't know the English name for this paper but it's kind of tearable non woven fabric. The length doesn't matter as long as it is at least 3 1/2". Cut 10 pieces 3/4" wide stripes of fabric.
There are many easy paper piecing methods but I'm used to this one because the results is precise.
Ompele kaitaleet paper piecingillä normaaliin tapaan. Piston pituutena käytin 2. Huom! Jätä kangasta saumavaraksi viivoituksen molempiin sivuihin.
***
Paper piece stripes along the lines. I used stitch length 2. NB! Leave a seam allowance on both of the outermost lines.
Tasoita blokki niin, että siitä tulee 3" x 3" kokoinen. Älä leikkaa siis piirrosviivoja pitkin, vaan mittaa niistä 1/4" saumavaraa, kuten keltaisessa blokissa.
***
Trim the block to size 3" x 3". Don't cut along the drawing line but measure 1/4" seam allowance from it, like on the yellow block.
***
You'll need four blocks in total. Cut the blocks into four parts from corner to corner. For each block I used only different shades of one color as to make the pattern more clear.
Kun värisommitelma on mieleisessä järjestyksessä, ompele palat yhteen. Tein pystyraidoista ja vaakaraidoista omat blokit. En repinyt pois tuota paperia, sillä se tuki sopivasti ja osia oli helpompi käsitellä. Saumavaroihin tuli tietysti lisää tavaraa mutta kyllä ne taipuivat ihan ok.
***
When the layout is to your liking, sew the pieces together. I sewed the vertical triangles together and the horizontals together. I didn't tear the paper away because it was easier to sew the tiny pieces with it on.
The seams are quite thick but you can handle them.
Anna reilusti höyryä, niin saumat asettuvat muotoonsa. Nyt sinulla pitäisi olla noin 4 1/4" kokoinen blokki. Vasemmalla oleva on "mini mini", sillä tein sen ensin erehdyksessä kahdeksalla kaitaleella. Senkin voi käyttää johonkin tosi pieneen. Vähän kärsivällisyyttä ja tarkkuutta tämä vaatii mutta tuloksena on nätti blokki.
***
Use plenty of steam and the block will get its shape. Now you should have about 4 1/4" block. The left one is "mini mini" because made it accidentally with eight stripes. I'll use it on some very tiny pouch later. You just need a little patience and precision but the end result is a very pretty block.


